No edit summary |
No edit summary |
||
| (17 intermediate revisions by 10 users not shown) | |||
| Line 71: | Line 71: | ||
|- |
|- |
||
|[[Clockwork Menace]] |
|[[Clockwork Menace]] |
||
| − | |[[Clockwork Menace Factory]] |
+ | |[[The Clockwork Menace Factory]] |
|[[File:Trophy Clockwork Menaces Head (visible).jpg|75px]] |
|[[File:Trophy Clockwork Menaces Head (visible).jpg|75px]] |
||
|- |
|- |
||
| Line 115: | Line 115: | ||
|[[Roehn Theer]] "4 Runes" |
|[[Roehn Theer]] "4 Runes" |
||
|[[The Palace of Roehn Theer]] |
|[[The Palace of Roehn Theer]] |
||
| + | |[[Trophy: Aeteok]] |
||
| − | |{{info|Trophie name needed}} |
||
|- |
|- |
||
|[[Toxxulia]] |
|[[Toxxulia]] |
||
| Line 154: | Line 154: | ||
|[[File:Trophy Statue of Rallos Zek.jpg|75px]] |
|[[File:Trophy Statue of Rallos Zek.jpg|75px]] |
||
|- |
|- |
||
| − | |[[ |
+ | |[[Statue of Rallos Zek]] |
|[[Temple of Rallos Zek: Foundations of Stone (Challenge)]] |
|[[Temple of Rallos Zek: Foundations of Stone (Challenge)]] |
||
|[[File:Trophy Bust of Rallos Zek (Challenge).jpg|75px]] |
|[[File:Trophy Bust of Rallos Zek (Challenge).jpg|75px]] |
||
|- |
|- |
||
| − | | rowspan="6" align="center" |[[Update:61|The War of Zek ( |
+ | | rowspan="6" align="center" |[[Update:61|The War of Zek (LU 61)]] |
|[[Sullon Zek (Epic)|Sullon Zek]] |
|[[Sullon Zek (Epic)|Sullon Zek]] |
||
|[[Sullon's Spire]] |
|[[Sullon's Spire]] |
||
| Line 183: | Line 183: | ||
|[[File:Vallon Zek's War Torn Obsidian Scimitar(Challenge).jpg|75px]] |
|[[File:Vallon Zek's War Torn Obsidian Scimitar(Challenge).jpg|75px]] |
||
|- |
|- |
||
| − | | rowspan=" |
+ | | rowspan="4" align="center" |[[Update:63|Skyshrine]] |
|[[Dozekar the Cursed (Epic)|Dozekar the Cursed]] |
|[[Dozekar the Cursed (Epic)|Dozekar the Cursed]] |
||
|[[Skyshrine: The Underdepths]] |
|[[Skyshrine: The Underdepths]] |
||
| + | |<!-- [[File:?|75px]] --> |
||
| + | |- |
||
| + | |[[Dozekar the Usurper's Head (Challege)]] |
||
| + | |[[Skyshrine: Betrayal in the Underdepths]] |
||
|[[File:Dozekar the Usurper.jpg|75px]] |
|[[File:Dozekar the Usurper.jpg|75px]] |
||
|- |
|- |
||
| Line 196: | Line 200: | ||
|[[File:Vyskudra the Ancient.jpg|75px]] |
|[[File:Vyskudra the Ancient.jpg|75px]] |
||
|- |
|- |
||
| − | | rowspan=" |
+ | | rowspan="11" align="center" |[[Chains of Eternity]] |
|[[Baroddas (Epic)]] |
|[[Baroddas (Epic)]] |
||
|[[Altar of Abhorrence (Raid)|Altar of Abhorrence]] |
|[[Altar of Abhorrence (Raid)|Altar of Abhorrence]] |
||
|[[File:Head of Baroddas.jpg|75px]] |
|[[File:Head of Baroddas.jpg|75px]] |
||
| + | |- |
||
| + | |[[Baelon (Epic)]] |
||
| + | |[[Altar of Abhorrence (Raid)|Altar of Abhorrence]] |
||
| + | |[[File:|75px]] |
||
|- |
|- |
||
|[[Drinal (Heroic)]] |
|[[Drinal (Heroic)]] |
||
| Line 206: | Line 214: | ||
|[[File:Drinal-0.jpg|75px]] |
|[[File:Drinal-0.jpg|75px]] |
||
|- |
|- |
||
| − | |[[Overlord Talan |
+ | |[[Overlord Talan]] |
|[[Siren's Grotto: Dissension]] |
|[[Siren's Grotto: Dissension]] |
||
|[[File:Overlord Talan.jpg|75px]] |
|[[File:Overlord Talan.jpg|75px]] |
||
|- |
|- |
||
| − | |[[Overlord Talan ( |
+ | |[[Overlord Talan (Challege)]] |
| + | |[[Siren's Grotto: Dissension]] |
||
| − | |... (Challenge) |
||
|[[File:Overlord Talan (Challenge).jpg|75px]] |
|[[File:Overlord Talan (Challenge).jpg|75px]] |
||
|- |
|- |
||
| Line 234: | Line 242: | ||
|[[File:Ventani the Warder.jpg|75px]] |
|[[File:Ventani the Warder.jpg|75px]] |
||
|- |
|- |
||
| − | | align="center" |[[Tears of Veeshan]] |
+ | | rowspan="4" align="center" |[[Tears of Veeshan]] |
|[[The Crumbling Emperor]] |
|[[The Crumbling Emperor]] |
||
| − | |[[ |
+ | |[[Accursed Sanctum (Raid)|Accursed Sanctum]] |
|[[File:The Crumbling Emperor.jpg|75px]] |
|[[File:The Crumbling Emperor.jpg|75px]] |
||
| + | |- |
||
| + | |[[Grendish]] |
||
| + | |[[Temple of Veeshan: Guardian's Edifice [Raid]|Temple of Veeshan: Guardian's Edifice [Raid]]] |
||
| + | |[[]] |
||
| + | |- |
||
| + | |[[Klandicar]] |
||
| + | |[[Temple of Veeshan: Guardian's Edifice [Raid]|Temple of Veeshan: Guardian's Edifice [Raid]]] |
||
| + | |[[]] |
||
| + | |- |
||
| + | |[[Zlandicar]] |
||
| + | |[[Temple of Veeshan: Guardian's Edifice [Raid]|Temple of Veeshan: Guardian's Edifice [Raid]]] |
||
| + | |[[]] |
||
|- |
|- |
||
| rowspan="11" align="center" |[[Altar of Malice]] & Contested (c) |
| rowspan="11" align="center" |[[Altar of Malice]] & Contested (c) |
||
| Line 265: | Line 285: | ||
|- |
|- |
||
|[[The Avatar of Karana]] |
|[[The Avatar of Karana]] |
||
| − | | |
+ | |[[Precipice of Power]] |
|[[File:The Avatar of Karana.jpg|75px]] |
|[[File:The Avatar of Karana.jpg|75px]] |
||
|- |
|- |
||
|[[The Avatar of Fennin Ro]] |
|[[The Avatar of Fennin Ro]] |
||
| − | | |
+ | |[[Precipice of Power]] |
|[[File:The Avatar of Fennin Ro.jpg|75px]] |
|[[File:The Avatar of Fennin Ro.jpg|75px]] |
||
|- |
|- |
||
|[[The Avatar of Cazic Thule]] |
|[[The Avatar of Cazic Thule]] |
||
| − | | |
+ | |[[Precipice of Power]] |
|[[File:The Avatar of Cazic-Thule.jpg|75px]] |
|[[File:The Avatar of Cazic-Thule.jpg|75px]] |
||
|- |
|- |
||
| − | |[[ |
+ | |[[Avatar of The Tribunal]] |
| − | | |
+ | |[[Precipice of Power]] |
|[[File:The Avatar of the Tribunal.jpg|75px]] |
|[[File:The Avatar of the Tribunal.jpg|75px]] |
||
|- |
|- |
||
|[[The Avatar of Brell]] |
|[[The Avatar of Brell]] |
||
| − | | |
+ | |[[Precipice of Power]] |
|[[File:The Avatar of Brell.jpg|75px]] |
|[[File:The Avatar of Brell.jpg|75px]] |
||
|- |
|- |
||
| + | | align="center" |[[:Category:Rum Cellar Campaign|Rum Cellar Campaign]] |
||
| ⚫ | |||
| + | |{{info}} |
||
| ⚫ | |||
| + | |{{info|Location ?}} |
||
| + | |<!-- [[File:?|75px]] --> |
||
| + | |- |
||
| ⚫ | |||
| ⚫ | |||
|[[Stygian Threshold: Edge of Underfoot]] |
|[[Stygian Threshold: Edge of Underfoot]] |
||
|[[File:Iron Forged Construct.jpg|75px]] |
|[[File:Iron Forged Construct.jpg|75px]] |
||
| Line 305: | Line 330: | ||
|[[File:Trophy Kraletus.jpg|75px]] |
|[[File:Trophy Kraletus.jpg|75px]] |
||
|- |
|- |
||
| − | |[[Vanlith the Mysterious One]] |
+ | |[[Vanlith the Mysterious One ]] Overworld Spawn |
|[[Thalumbra, the Ever Deep]] |
|[[Thalumbra, the Ever Deep]] |
||
|[[File:Trophy Vanlith the Mysterious One.jpg|75px]] |
|[[File:Trophy Vanlith the Mysterious One.jpg|75px]] |
||
| + | |- |
||
| + | | align="center" |[[Update:100|The Siege of Zek (LU 100)]] |
||
| + | |{{info}} |
||
| + | |{{info|Location ?}} |
||
| + | |<!-- [[File:?|75px]] --> |
||
| + | |- |
||
| + | | rowspan="5" align="center" |[[Kunark Ascending]] |
||
| + | |[[Lord Rak'Ashiir]] |
||
| + | |[[Lost City of Torsis: Ashiirian Court]] |
||
| + | |<!-- [[File:?|75px]] --> |
||
| + | |- |
||
| + | |[[Saryrn and Terris-Thule]] |
||
| + | |[[Vaedenmoor, Heart of Nightmares]] |
||
| + | |<!-- [[File:?|75px]] --> |
||
| + | |- |
||
| + | |[[Setri Lureth]] |
||
| + | |[[Vaedenmoor, Realm of Despair]] |
||
| + | |<!-- [[File:?|75px]] --> |
||
| + | |- |
||
| + | |[[The Kly]] |
||
| + | |[[Crypt of Dalnir: The Kly Stronghold]] |
||
| + | |<!-- [[File:?|75px]] --> |
||
| + | |- |
||
| + | |[[Xalgoz]] |
||
| + | |[[Ruins of Kaesora: Ancient Xalgozian Temple]] |
||
| + | |<!-- [[File:?|75px]] --> |
||
| + | |- |
||
| + | | rowspan = "10" align="center" |[[Planes of Prophecy]] |
||
| + | |[[Meldrath the Malignant]] |
||
| + | |[[Plane of Innovation: The Wasteyards]] |
||
| + | |<!-- [[File:?|75px]] --> |
||
| + | |- |
||
| + | |[[The Manaetic Behemoth]] |
||
| + | |[[Plane of Innovation: The Wasteyards]] |
||
| + | |<!-- [[File:?|75px]] --> |
||
| + | |- |
||
| + | |[[Bertoxxulous]] |
||
| + | |[[Plane of Disease: Virulent Insurrection]] |
||
| + | |<!-- [[File:?|75px]] --> |
||
| + | |- |
||
| + | |[[Grummus]] |
||
| + | |[[Plane of Disease: Virulent Insurrection]] |
||
| + | |<!-- [[File:?|75px]] --> |
||
| + | |- |
||
| + | |[[Agnarr the Stormlord]] |
||
| + | |[[Torden, Bastion of Thunder: Storm Surge]] |
||
| + | |<!-- [[File:?|75px]] --> |
||
| + | |- |
||
| + | |[[Evynd Firestorm]] |
||
| + | |[[Torden, Bastion of Thunder: Storm Surge]] |
||
| + | |<!-- [[File:?|75px]] --> |
||
| + | |- |
||
| + | |[[Solusek Ro]] |
||
| + | |[[Solusek Ro's Tower: Citadel of the Sun]] |
||
| + | |<!-- [[File:?|75px]] --> |
||
| + | |- |
||
| + | |[[Arlyxir]] |
||
| + | |[[Solusek Ro's Tower: Citadel of the Sun]] |
||
| + | |<!-- [[File:?|75px]] --> |
||
| + | |- |
||
| + | |[[Rheumus, Harbinger of Tarew Marr]] |
||
| + | |[[Brackish Vaults: Realm of the Triumvirate]] |
||
| + | |<!-- [[File:?|75px]] --> |
||
| + | |- |
||
| + | |[[Oreen Wavecrasher]] |
||
| + | |[[Brackish Vaults: Realm of the Triumvirate]] |
||
| + | |<!-- [[File:?|75px]] --> |
||
| + | |- |
||
| + | | align="center" |[[Chaos Descending]] |
||
| + | |{{info}} |
||
| + | |{{info|Location ?}} |
||
| + | |<!-- [[File:?|75px]] --> |
||
|} |
|} |
||
| Line 314: | Line 411: | ||
{{SOEforums||topicid=448405}} |
{{SOEforums||topicid=448405}} |
||
__NEWSECTIONLINK__ |
__NEWSECTIONLINK__ |
||
| − | [[Category:Trophy (Item Subtype)| ]] |
||
| − | [[Category:LU51]] |
||
Revision as of 15:25, 27 May 2020
- For a categorical listing of known trophies, see Category:Trophy (Item Subtype).
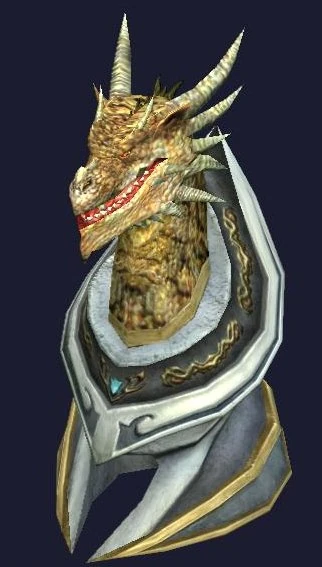
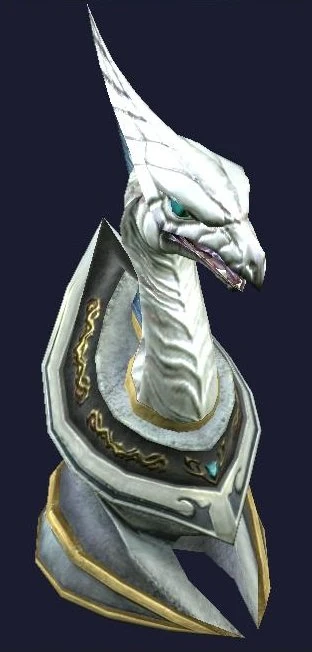
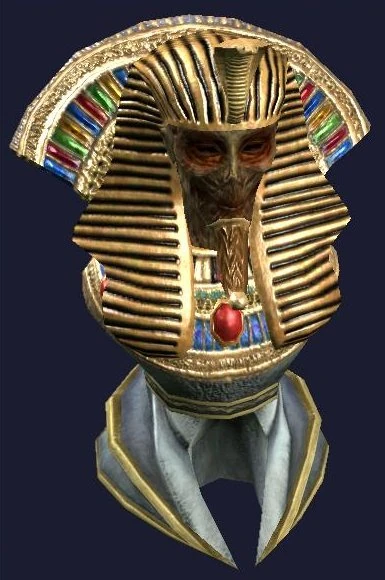
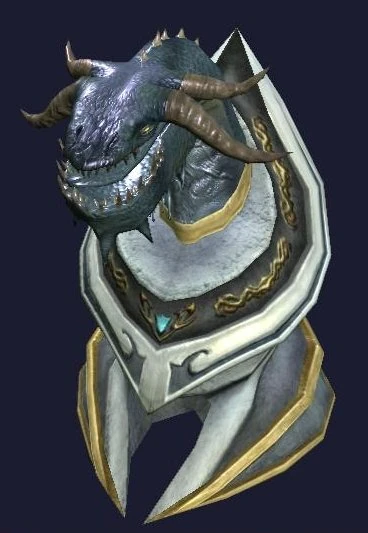
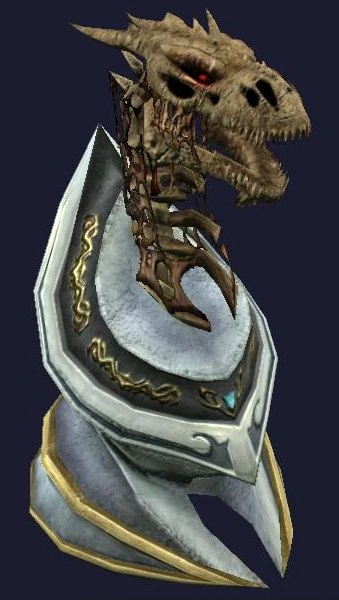
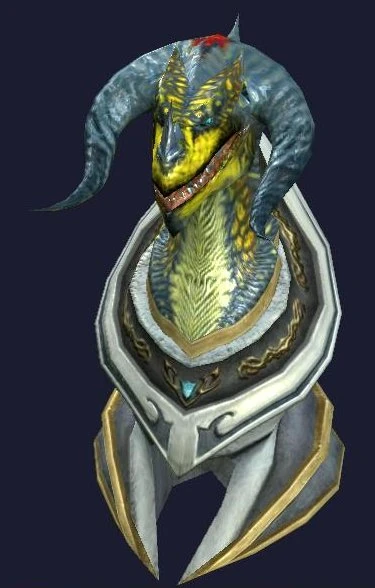
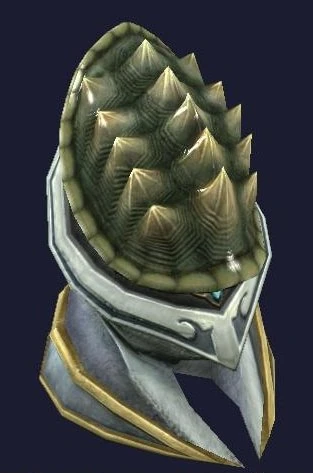
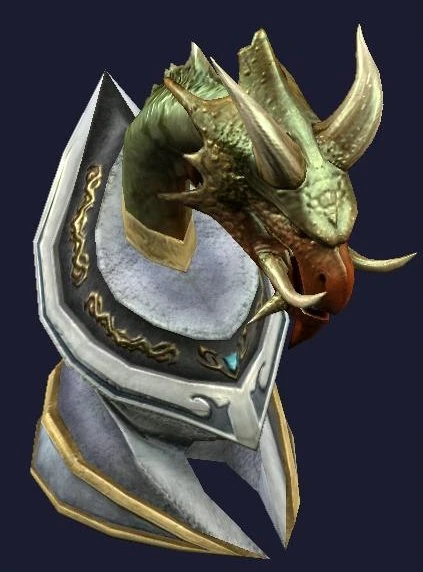
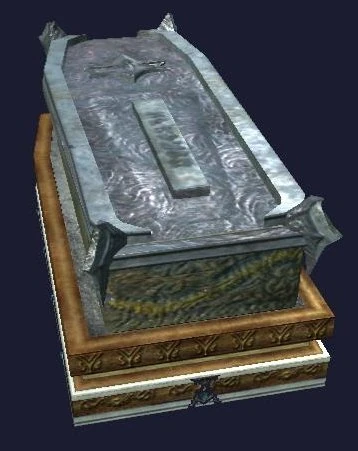
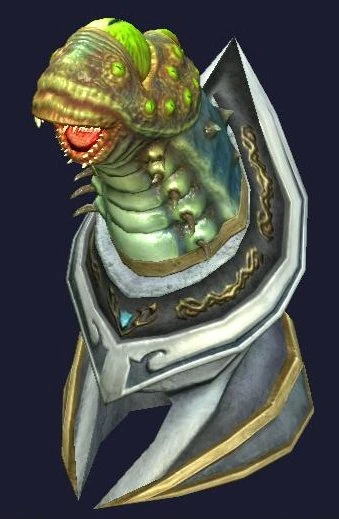
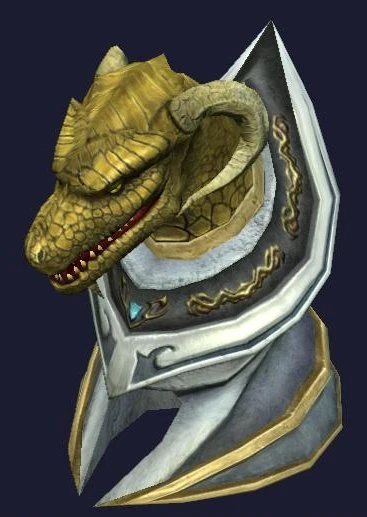
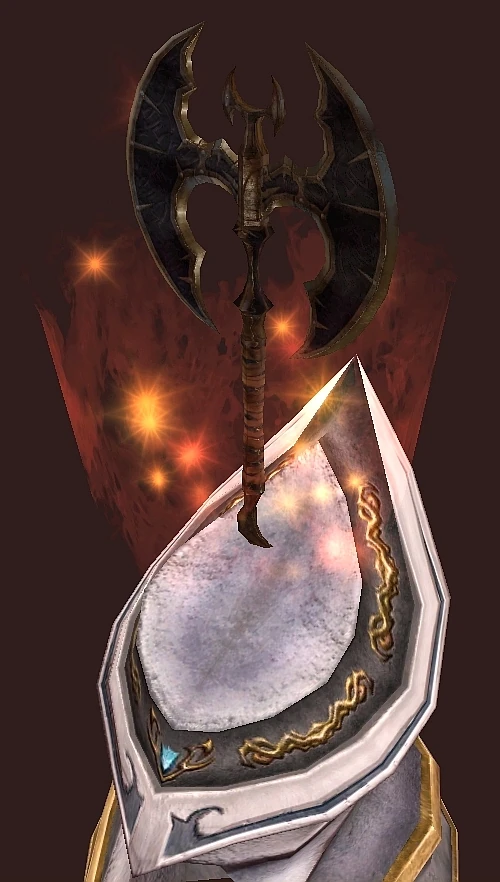
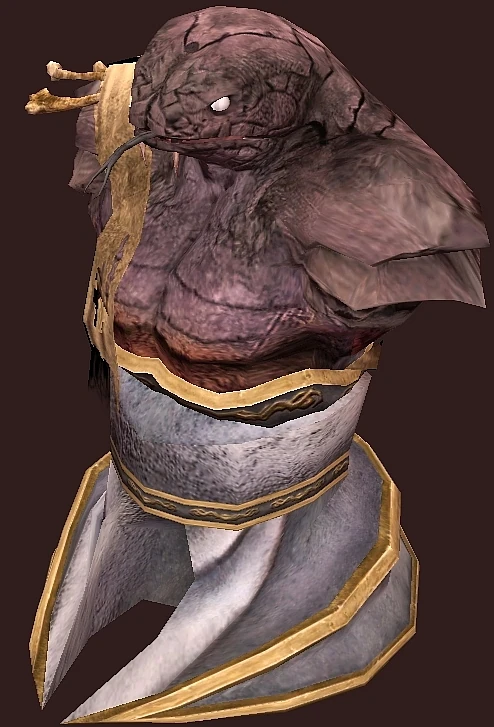
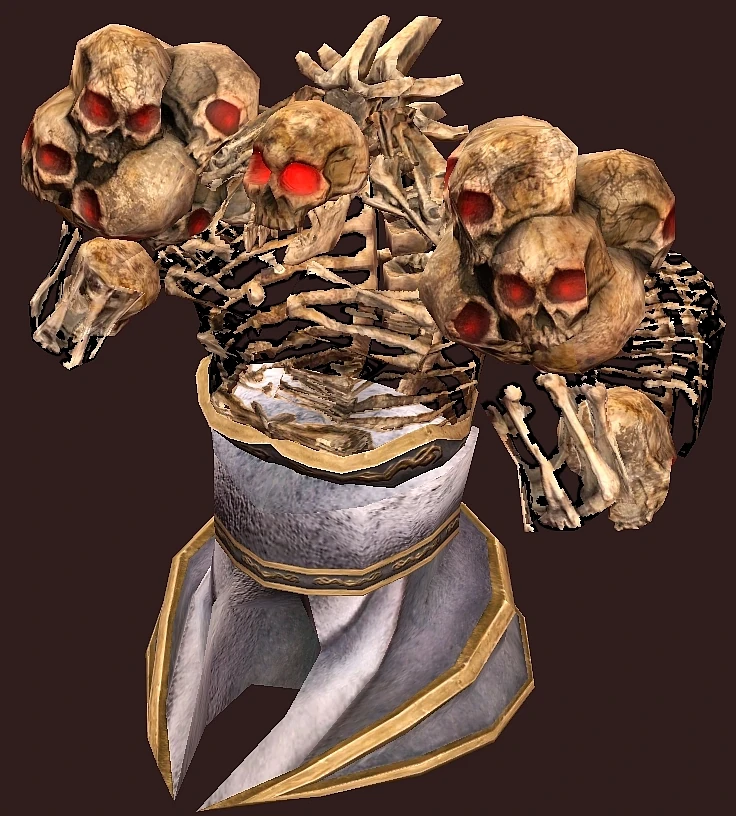
Since the release of LU51, trophies drop from several slain Epic x2 or x4 named that can be placed in guild halls and appears as a replica representation of the monster itself. To create a trophy, loot a crate (body drop) from the named that is killed and purchase or craft a guild hall trophy pedestal.
- NOTE: Many newer raid mobs will drop the trophy instead of a crate, and the pedestal is not needed.
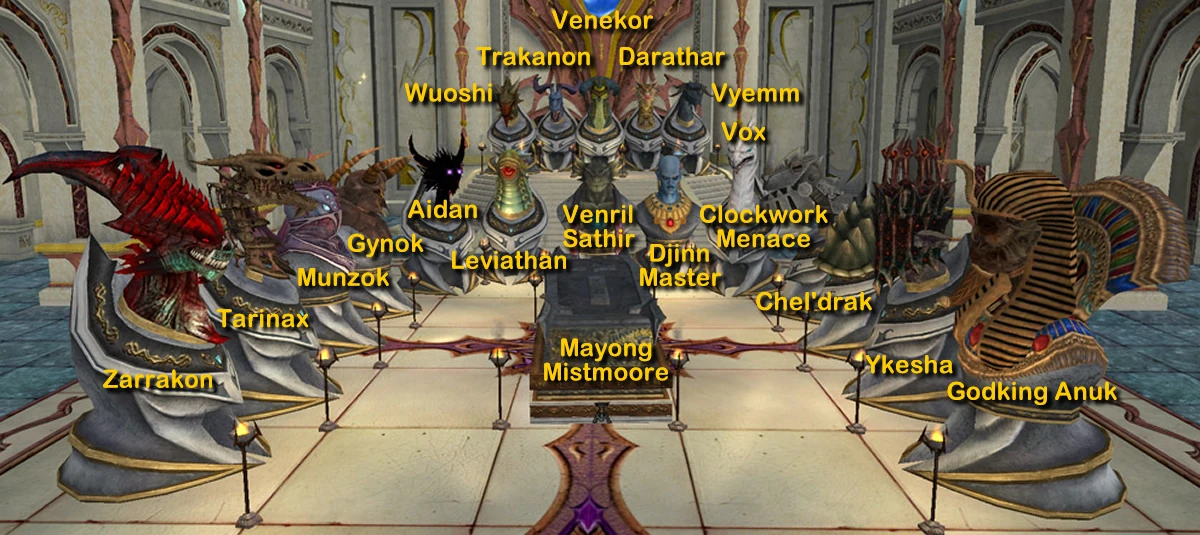
The following named monsters drop trophies:


.jpg)
| EQ2i credits posts in this thread at the SOE/DBG Forums for some of the information in this article. |