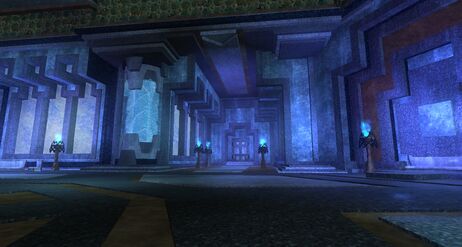
The Crucible
|
| ||||||||||||||||||
| ||||||||||||||||||
What does this information mean?
Quests[]
Void Shard Quests
Daily Double[]
(obtained from Ragheejb Yasir in Moors of Ykesha)
Rotating Daily[]
(obtained from Chief Scholar Lakewind in Everfrost)
Progression[]
First Floor[]
The first room when you zone in there are two pedestal stands, one on the east and west side of the room. These will be needed to spawn the first named and progress onto the second level of the zone. Head south out of this room and clear the trash around the room. From here there are currently only two available paths, as the southern path to the second level is blocked by a giant wall of ice. This leaves one to the southeast into A Reflection of Silence and one into the southwest into A Reflection of Exile. Head down the southeast hallway first.
- The key mob a hidden tome spawns on the outer edge of this room. It is very small so look closely.
Kill the couple groups of trash in this room and then look on the ground for a Planar Shard that you can click and pick up. This needs to be returned to the first room you zoned into and placed on the eastern pedestal. Head back to the second room and this time go down the southwest hallway.
There are a few wandering and static trash mobs here, kill them and look around the far south west part of the room for another Planar Shard that you can click and pick up. Return back to the first room you zoned into and now place this one on the western pedestal. Text will appear that your presence is known and when you step back into the second room with the raised platform Aimedaca will spawn. They are rooted in place at the chair on the platform, recommend running up the platform to fight them in place. A few adds will spawn during this encounter. Once defeated the wall of ice that was blocking the southern stairwell disappears and you can progress forward.
Second Floor[]
Large intersection room that has a path to the northeast leading to A Reflection of Arrogance and another to the northwest that leads to A Reflection of Exploration. There are two more pedestals in this room near the hallways, one near the southwest corner and one near the southeast corner. Head down the northeast hallway.
Small room with a few groups of trash mobs and some doors on the east wall leading into a room with three sub-named 'Master's. These named need to be damaged to 50% health and then dragged over their respective pads on the western side of room closest to the doors. The pads have a glowing color that matches the color of the outfit worn by the respective Master that needs to be dragged onto the pad (blue, green, red). When done correctly, the Master will turn unattackable and be locked in place until all three have been trapped. The Master will then spawn and initially be unattackable until he absorbs the power of the the trapped Master's. Upon killing him, a Planar Shard will appear on the ground of the eastern platform. Click it and return it to the larger room to the appropriate pedestal. Head down the northwest hallway.
Kill the trash and head to northwest wall where you'll see four movable items: a tree, a tiny fearling, a tiny cloud, and a tiny fish. These need to be placed on their corresponding pedestals around the room. If you stand in the center of the room and look through the small square windows towards the walls the backgrounds give hints as to which item needs to go on which pedestal. Going clockwise from the door, the order is: cloud, fearling, fish, tree. After placing them in the correct locations a portal will open near the center platform and Narciss will spawn. This is NOT the actual namedand dies pretty quickly, save your better abilities for the named that comes directly after he dies, Xorlac The Cleanser. He has a frontal AOE and a knockback so position accordingly.
- Note: Sometimes the four items do not want to click onto their pedestals. You can click them onto the ground near the pedestal and it will still give the placement credit.
Grab the Planar Shard and return it to the last pedestal in the larger room to cause a script and new circular stairway to appear from the ground below. Take the stairs up where you'll be greeted by two groups of mercenaries before being able to enter the final room.
Top Floor[]
When you first enter this room there is a projection of Master Miragul in the south side of the room. When you get within proximity he starts his script that will eventually lead to spawning The Codexicon. If you do not have enough DPS and AOE blockers to burn him fast enough, have two group members click the scone torches on the wall next to Miragul to get a 'Runed Torch' in their inventory. This will let them right click the scrolls and pages throughout the fight that spawn in the center of the room and 'Burn' them. It is very time stringent so the preferred kill method is to burn, burn, burn the named down.
