No edit summary |
(Editing a gallery) |
||
| (32 intermediate revisions by 20 users not shown) | |||
| Line 1: | Line 1: | ||
| + | <gallery> |
||
| − | {{ZoneInformation | |
||
| + | </gallery>{{IZoneInformation | |
||
| − | instance = Raid (x4) | |
||
| + | abbrev = DT| |
||
| − | azones = [[Bonemire|Bonemire]] ([[Carrion Briar|Carrion Briar]]) | |
||
| ⚫ | |||
| ⚫ | |||
| + | pzone = | |
||
| ⚫ | |||
| + | azones = [[The Bonemire]] {{loc|-297|-74|-515}} on [[Carrion Briar]]| |
||
| ⚫ | |||
| + | instance = Raid| |
||
| + | zdiff = x4| |
||
| + | aquest = Deathtoll Access| |
||
| + | rquest = | |
||
| + | flock = 12 hours| |
||
| + | slock = 5 days 20 hours |
||
}} |
}} |
||
| − | |||
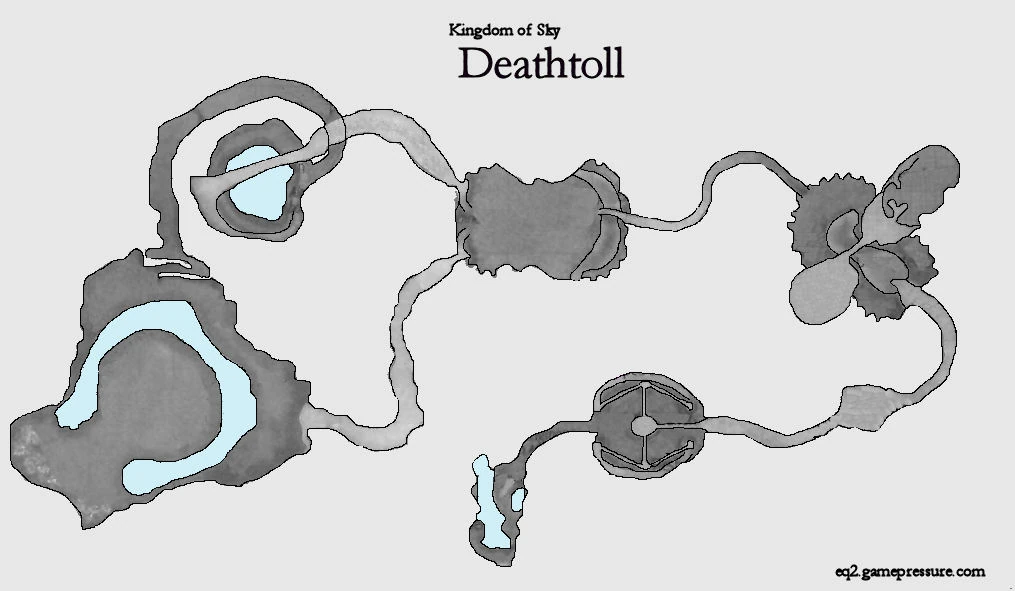
[[Image:Gamepressure Map of Deathtoll.jpg|thumb|250px|right|Zone-map from [[http://eq2.gamepressure.com/maps.asp?ID=126 Gamepressure]]]] |
[[Image:Gamepressure Map of Deathtoll.jpg|thumb|250px|right|Zone-map from [[http://eq2.gamepressure.com/maps.asp?ID=126 Gamepressure]]]] |
||
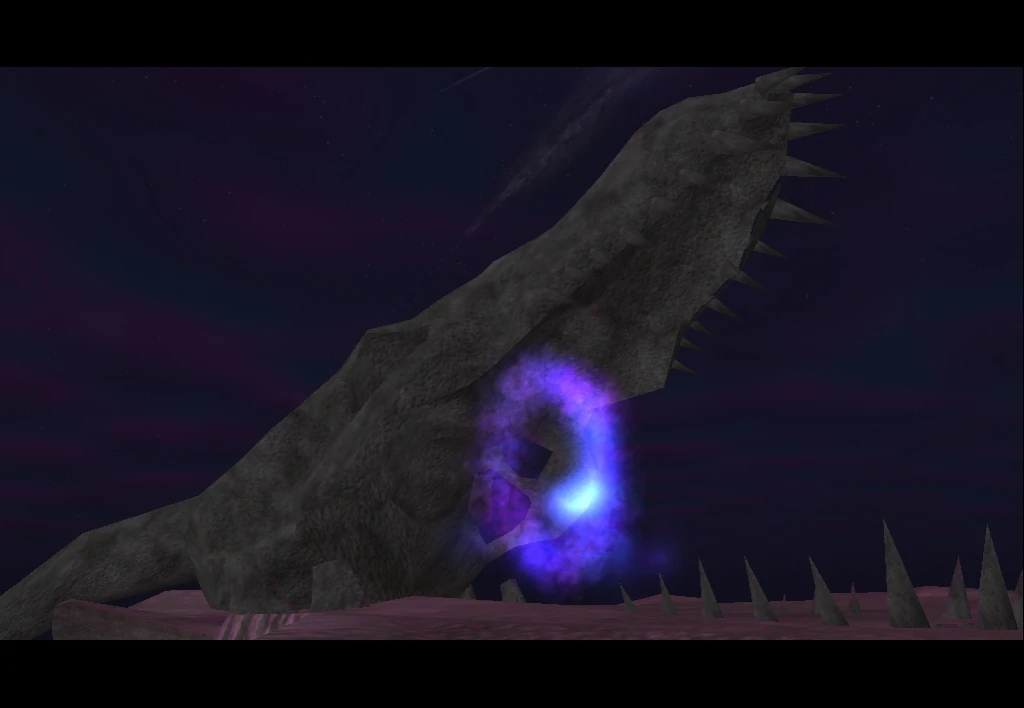
[[Image:Deathtoll Zone-In in Bonemire.jpg|thumb|250px|right|Zone-in from [[Carrion Briar]]]] |
[[Image:Deathtoll Zone-In in Bonemire.jpg|thumb|250px|right|Zone-in from [[Carrion Briar]]]] |
||
| + | == Access == |
||
| − | |||
| + | * [[Deathtoll Access|Access quest]] no longer required for entry |
||
| − | = Accessing = |
||
| − | * Only one person needs to have done the [Deathtoll Access|access quest]] |
||
* Zone in/respawn is not necessarily safe |
* Zone in/respawn is not necessarily safe |
||
| − | = Maps = |
+ | == Maps == |
| − | * |
+ | * [http://eq2.gamepressure.com/maps.asp?ID=126 Gamepressure] |
| − | = Tips = |
+ | == Tips == |
| − | * Traps in the zone spawn |
+ | * Traps in the zone spawn [[carrion worms]] |
* You can have someone zone in alone to check that zone-in is clear before the rest of the raid. |
* You can have someone zone in alone to check that zone-in is clear before the rest of the raid. |
||
| + | * There are several invisible and stealthed gazers throughout the zone---see invisibility and see stealth will let you see them. |
||
| + | * The zone-in area has a group of three skeletal droags underneath the cliff. |
||
| ⚫ | |||
| − | = NPCs = |
||
| − | * [[a Deathless Gazer]] |
||
| − | * [[Yitzik the Hurler]] |
||
| − | * [[Fitzpitzle]] |
||
| − | * [[Amorphous Drake]] |
||
| − | * [[Cruor Alluvium]] |
||
| − | * [[Tarinax the Destroyer]] |
||
| − | |||
| ⚫ | |||
*[[Claymore Timeline]] |
*[[Claymore Timeline]] |
||
| − | = Credits = |
+ | == Credits == |
| − | *Based on |
+ | *Based on [http://raidwiki.org Raidwiki] |
| − | * |
+ | *[http://eq2.gamepressure.com/ Gamepressure] |
| + | <gallery widths="310"> |
||
| + | EQ2_000746.png |
||
| + | EQ2_000748.png |
||
| + | EQ2_000745.png |
||
| + | EQ2_000776.png |
||
| + | EQ2_000770.png |
||
| + | EQ2_000771.png |
||
| + | EQ2_000773.png |
||
| + | </gallery> |
||
Revision as of 01:40, 11 February 2020
|
| ||||||||||||||||||||||||
| ||||||||||||||||||||||||
What does this information mean?

Zone-map from [Gamepressure]
Zone-in from Carrion Briar
Access
- Access quest no longer required for entry
- Zone in/respawn is not necessarily safe
Maps
Tips
- Traps in the zone spawn carrion worms
- You can have someone zone in alone to check that zone-in is clear before the rest of the raid.
- There are several invisible and stealthed gazers throughout the zone---see invisibility and see stealth will let you see them.
- The zone-in area has a group of three skeletal droags underneath the cliff.
Involved in Quests
Credits
- Based on Raidwiki
- Gamepressure
")
")
")
")
")
")
")