No edit summary |
m (→Notes: zone rename, replaced: Bloodskull Valley: Excavation Site → Bloodskull Valley: The Excavation Site) |
||
| Line 17: | Line 17: | ||
*Every time you enter you must speak with [[Amulius Ramio]] and go through the dialogue options until you say "Alright, give me the key I'm ready". Don't just spam click through the dialogue since you must end the conversation with the above option. If you end the conversation on any other option then you won't have 'Maulic's Stronghold' appear as an option when clicking on the gate to Bloodskull Valley. |
*Every time you enter you must speak with [[Amulius Ramio]] and go through the dialogue options until you say "Alright, give me the key I'm ready". Don't just spam click through the dialogue since you must end the conversation with the above option. If you end the conversation on any other option then you won't have 'Maulic's Stronghold' appear as an option when clicking on the gate to Bloodskull Valley. |
||
**You must speak with him again if you die or zone out for any reason. |
**You must speak with him again if you die or zone out for any reason. |
||
| − | *It is recommended that the adventurer complete [[The Commonlands Timeline]], [[Bloodskull Valley: Excavation Site]] and [[Bloodskull Valley: The Training Grounds]] to better understand the themes surrounding [[:Category:The Bloodskull Orcs (Faction)|The Bloodskull Orcs]]. |
+ | *It is recommended that the adventurer complete [[The Commonlands Timeline]], [[Bloodskull Valley: The Excavation Site]] and [[Bloodskull Valley: The Training Grounds]] to better understand the themes surrounding [[:Category:The Bloodskull Orcs (Faction)|The Bloodskull Orcs]]. |
==Background== |
==Background== |
||
The Bloodskull Orcs have been staging attacks against [[The City of Freeport|Freeport]] and throughout [[The Commonlands]] for long enough. [[Overlord Lucan D'Lere]] wants to strike hard and fast against the orcs and has decided that the best course of action is to assassinate the Bloodskull field commander, [[Overseer Maulic]]. |
The Bloodskull Orcs have been staging attacks against [[The City of Freeport|Freeport]] and throughout [[The Commonlands]] for long enough. [[Overlord Lucan D'Lere]] wants to strike hard and fast against the orcs and has decided that the best course of action is to assassinate the Bloodskull field commander, [[Overseer Maulic]]. |
||
Revision as of 19:59, 11 February 2019
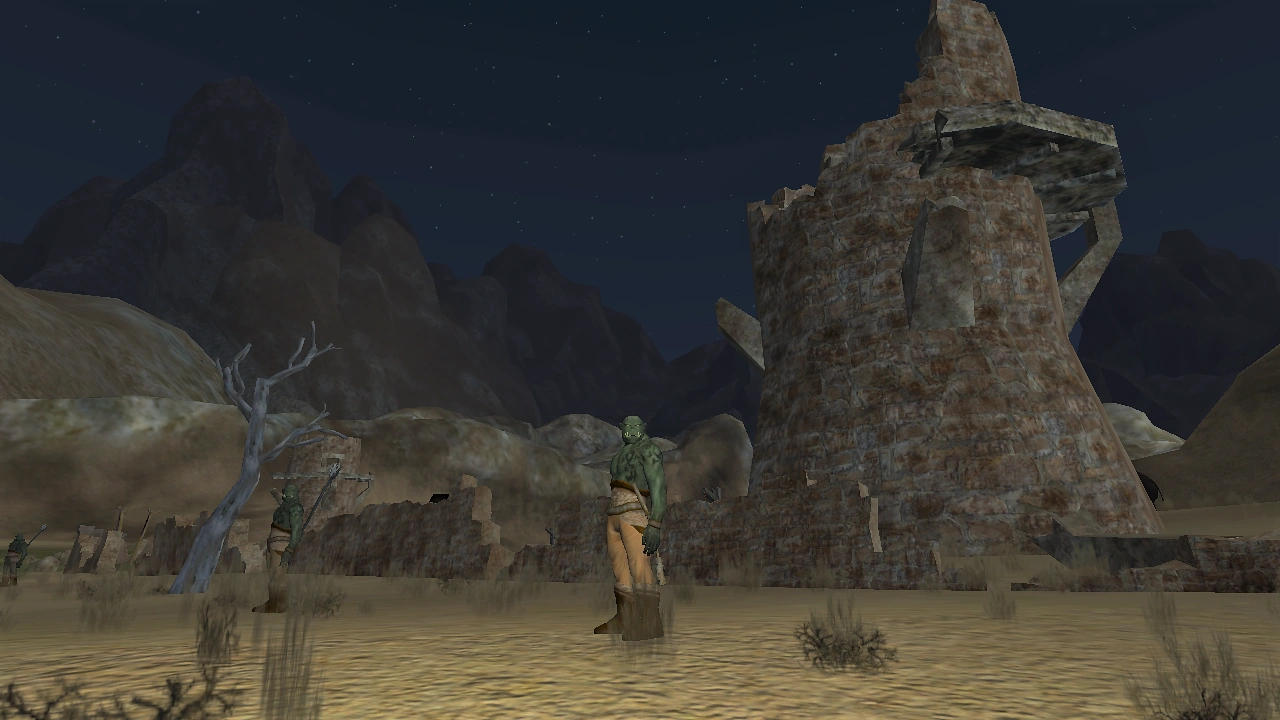 Maulic's Stronghold at night. | ||
|
| ||||||||||||||||||
| ||||||||||||||||||
What does this information mean?
- Entrance at: ( 0, -48, 726 )
Notes
- Every time you enter you must speak with Amulius Ramio and go through the dialogue options until you say "Alright, give me the key I'm ready". Don't just spam click through the dialogue since you must end the conversation with the above option. If you end the conversation on any other option then you won't have 'Maulic's Stronghold' appear as an option when clicking on the gate to Bloodskull Valley.
- You must speak with him again if you die or zone out for any reason.
- It is recommended that the adventurer complete The Commonlands Timeline, Bloodskull Valley: The Excavation Site and Bloodskull Valley: The Training Grounds to better understand the themes surrounding The Bloodskull Orcs.
Background
The Bloodskull Orcs have been staging attacks against Freeport and throughout The Commonlands for long enough. Overlord Lucan D'Lere wants to strike hard and fast against the orcs and has decided that the best course of action is to assassinate the Bloodskull field commander, Overseer Maulic.
Walkthrough
There are five waves of orcs, each wave culminating with a boss fight that rewards AA. With each successive wave, the mobs become more challenging. The zone is split into three areas:
- The first area is the courtyard outside The Battered Wall. Here is where Legioneer Gorlak and then General Drull will spawn.
- The second area is the field on the other side of The Battered Wall and up to the arena/buildings. Here you will have to fight many trash mobs and two Bloodskull spotters (worth AA) that are found on top of the watchtowers. As long as the spotters are up, two Bloodskull reinforcements will run from the narrow path in the east of the zone to the center of the zone. If they get there, four Bloodskull bouncers will spawn and aggro. Thus, it is crucial to kill the spotters asap to stop this process (although one more bouncer mob usually spawns after each spotter is killed). Once all the spawning mobs are down, and the mobs everywhere except The Bloodskull Arena are down, head to the arena for a ring event that begins the next stage.
- The third area includes the arena, the buildings and the tents right before the lake. Once the four Bloodskull gladiators guarding the arena are killed, mobs spawn at the two buildings and other mobs will spawn, immediately aggroing. Once all these mobs have been dealt with, a Bloodskull High Command will spawn at the tents, with Rythar the Conjuror afterward, then Ternag the Sorcerer, and then finally Overseer Maulic.