They are found in the area near the entrance and at ( 133, 110, -81 ) Copy/waypoint 133, 110, -81, they respawn. They can also be found in the lava pool where the phoenix spawns ( 139, 110, -81 ) Copy/waypoint 139, 110, -81 but there will be aggro. The simplest way to get them is to fish them out at the entrance without aggro.
6 Sulphur Shed and 15 obsidian shards. (Harvest both at the same time)
6 Sulphur Shed by scavenging mephits
Sulphur Shed
Go through the doors to the east at ( -100, -6, -102 ) Copy/waypoint -100, -6, -102.
The hostile Mephits periodically spray a cone of fire, leaving a small heap of burning sulfur on the floor that you can harvest.
Harvesting the Sulphur Shed damages you.
Don't get too close to the mephits, for they can and will kill you.
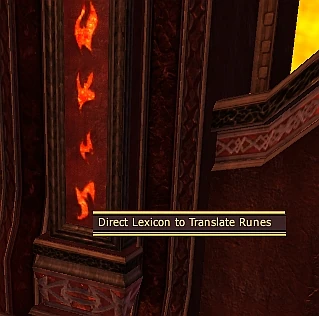
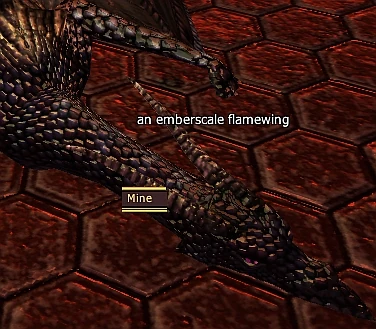
15 obsidian shards from fallen drakes.
Click an emberscale flamewing to mine them for their shards.
an emberscale flamewing
They can be found in the side rooms downstairs, but aggro from the mephits can kill you. A safer way to mine drakes for shards is to click on the brazier at ( -136, -8, -102 ) Copy/waypoint -136, -8, -102 and teleport to find non-aggro drakes. After teleporting, follow the hallways north and east to a big room with dead drakes and giants. Mine all the drake shards needed here.
Next you have to craft the incubation vessel.
Note: In The Infarnal Chamber on your way to the Wall of Elemental Fire don't step on the grades.
To get to The Infarnal Chamber with the Wall of Elemental Fire:
Starting from the entry go to the double doors leading to mephit area at ( -100, -6, -102 ) Copy/waypoint -100, -6, -102
then click the central brazier at ( -136, -8, -102 ) Copy/waypoint -136, -8, -102 to be teleported
then go to the giant/drake room and click the brazier at ( 196, 103, -94 ) Copy/waypoint 196, 103, -94
to be teleported to The Infarnal Chamber with the Wall of Elemental Fire ( 0, 103, -35 ) Copy/waypoint 0, 103, -35.
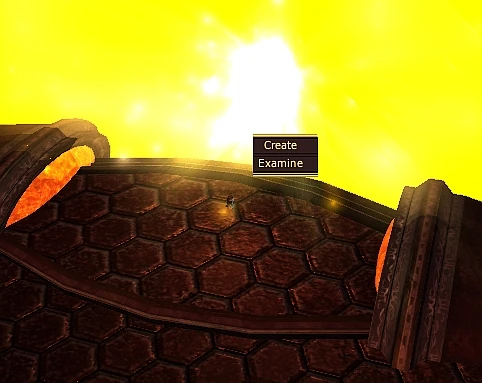
Now 'just' click on the wall of fire to do the combines.
Wall of Elemental Fire (crafting station)
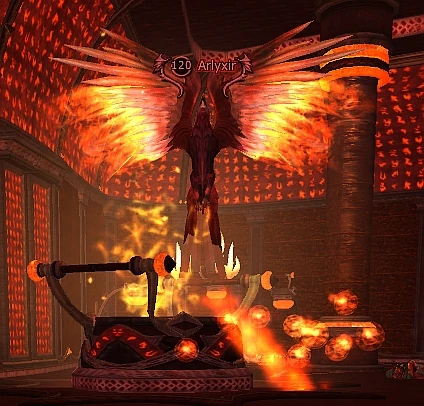
Fire the incubation vessel in the spouts of flame in Arlyxir's room four times:
Warning: Don't get knocked into the flame walls or lava, you'll die.
Note: Always you will get a percentage (~80%) of your current max-health as damage.
Note: Always you will be tossed up into the air while you do this queststep...remember the lava/flamewall issue.
To get one update you have to stand on one of the grates (e.g. ( 0, 102, -80 ) Copy/waypoint 0, 102, -80) in the middle as it lights up. Do this four times.
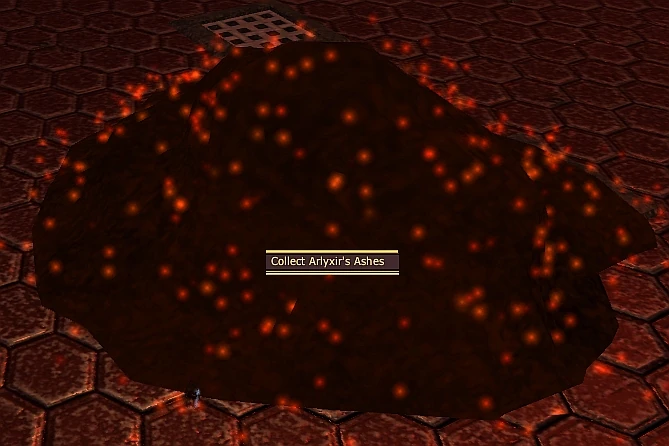
Collect Arlyxir's Ashes within the newly created vessel. Harvest from pile of glowing ashes in center of Arlyxir's room, at ( 10, 105, -81 ) Copy/waypoint 10, 105, -81.
Arlyxir's Ashes
It is a very long (and amusing) harvest.
Use the brazier at ( 0, 103, -123 ) Copy/waypoint 0, 103, -123 to come back to the room where the cauldorn stands in the middle.
Note: In the center of room, there is a flaming ramp (no damage) on the West side of the cauldron.
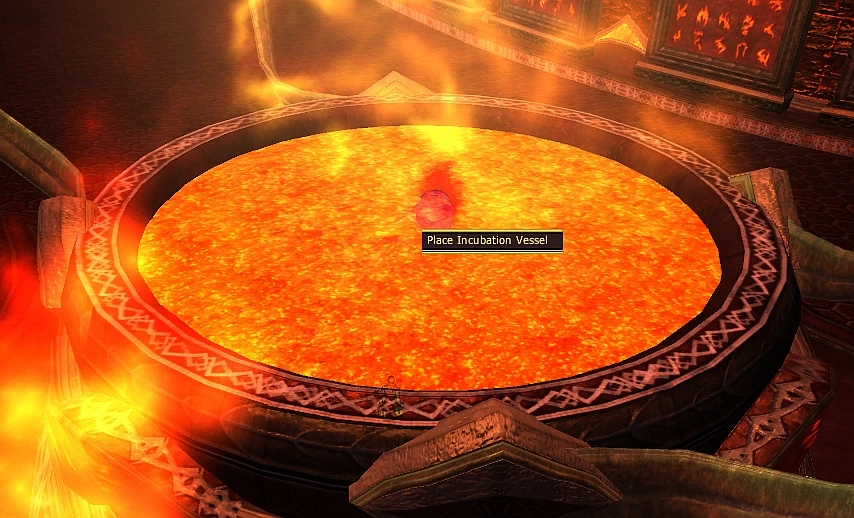
Note: While the baby phonix is 'cocked' you will have to stand on the rim of cauldron to super-heat it.
Note: From The rim of cauldron you can click in the middle to place the collected Arlyxir's Ashes
Note: You will take ~99% damage and be thrown back when Arlyxir hatches. If one stays too close, one will be eaten by the "hungry" baby phoenix.
. This knockback and damage are necessary to "empower the seal".
Go up the flaming ramp, place the vessel ( 133, 110, -81 ) Copy/waypoint 133, 110, -81IN the cauldron and stand at the rim of the cauldron and wait until you are kicked back (getting damaged). Then its time to flee.
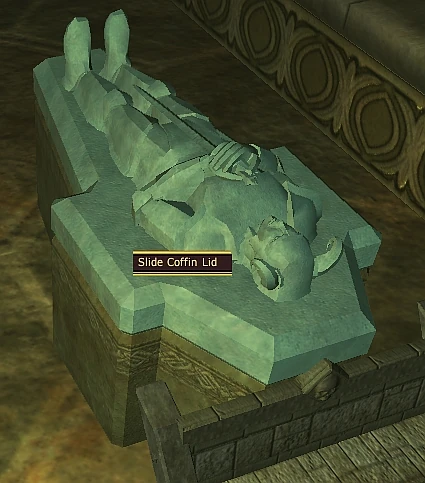
Slide the coffin lid at ( 320, -475, -75 ) Copy/waypoint 320, -475, -75.
Coffin Lid
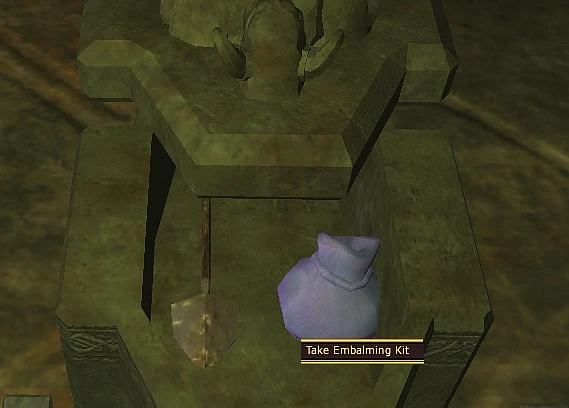
Collect the shovel and embalming kit from inside the coffin.
Shovel & Embalming Kit
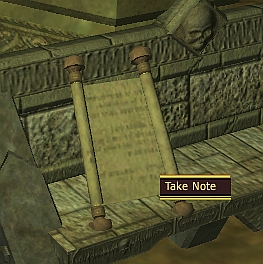
Optional: Take the note to receive the house item a scrawled note.
a scrawled note - house item
Suggestion: Set graphics to Extreme Performance to mostly eliminate the infantile & disgusting screen splashes.
Collect the following:
6 Plaguebringer protoplasm.
Use the embalming kit rapidly as a pillbug approaches, it will stop moving and get larger. Keep embalming until it explodes to a protoplasm.
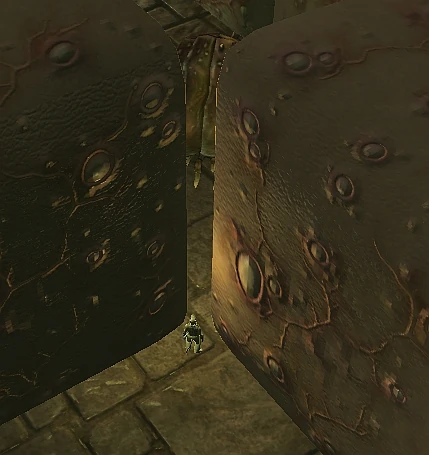
pillbug safe spot-no throwback!
by clearing to a corner of the pillbug path will allow one to kill them without being thrown-back/stifled.
15 dormant pathogens.
Click on the large cubes to Clean Waste twice, and collect a pathogen.
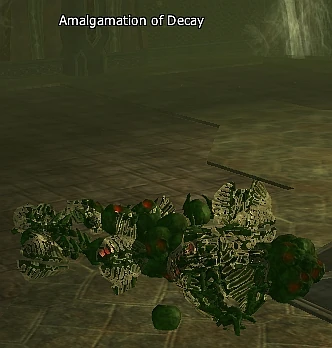
6 blighted marrow.
Mine an Amalgamation of Decay and an Amalgamation of Pestilence for marrow found at random locations on floor in Pedestal of Pestilence room; ( -49, -483, -111 ) Copy/waypoint -49, -483, -111,( -51, -483, -73 ) Copy/waypoint -51, -483, -73, etc..
Amalgamation of Decay, et al.
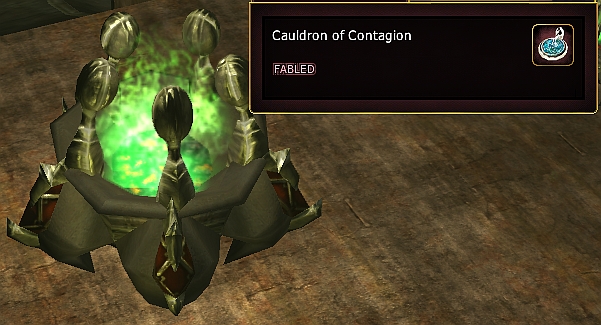
Craft an Empower the Seal of Bertoxxulous in the Cauldron of Contagion at ( -11, -473, -92 ) Copy/waypoint -11, -473, -92.
 A discussion page exists which may contain more information


